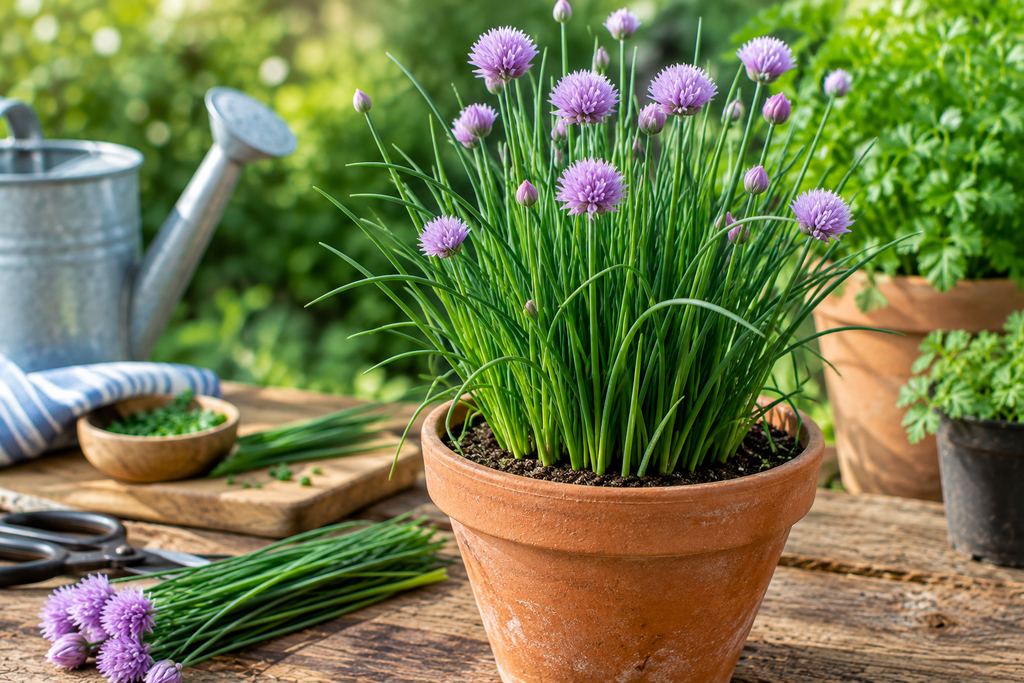
Chives are one of the few herbs that genuinely live up to their “easy to grow” reputation. Plant them once and, with almost no fuss, you’ll be snipping fresh leaves for two or three years before you ever need to replant.
Quick answer: Chives grow best in a sunny spot (at least 4–6 hours of light) with moist, well-drained soil. Sow seed 1cm (¼–½ inch) deep, or start from a nursery plant or division. Keep soil consistently damp, and begin harvesting once plants reach about 6 inches tall — usually 60–90 days from seed, or immediately from a potted plant. Snip leaves to within an inch of the soil, and they’ll regrow again and again through the season.
Here’s a complete, step-by-step guide — whether you’re growing chives outdoors, in a pot on the patio, or on a windowsill indoors.
Chives at a Glance
| Details | |
| Botanical name | Allium schoenoprasum |
| Plant type | Perennial herb (onion family) |
| Sun | Full sun to part shade (6+ hours ideal) |
| Soil | Moist, fertile, well-drained |
| Spacing | 8–12 inches apart |
| Days to harvest | 60–90 days from seed; instantly from a plant |
| Mature height | 10–12 inches |
| Hardiness | USDA zones 3–9 |
| Container depth | At least 8 inches |
Source for this information.
Growing Chives from Seed
Chives are slow but reliable starters from seed — this is the cheapest way to grow a lot of plants, but it takes the longest to reach a full harvest.
- Start 6–8 weeks indoors before your last frost. Fill small pots or trays with a good seed-starting mix.
- Sow shallow. Plant seeds about ¼–½ inch (0.5–1 cm) deep and keep the tray in a warm, bright spot.
- Keep the soil consistently moist but not waterlogged. Germination is slow and uneven — expect seedlings in 10–21 days.
- Thin or transplant once seedlings are around 4 inches tall, spacing plants 8–12 inches apart.
- Harden off before moving outdoors, gradually exposing seedlings to outdoor conditions over a week.
You can also direct-sow chive seed outdoors in spring once the soil has warmed, though germination is more reliable when started indoors first.
Growing Chives from Cuttings or Division
If you already have (or know someone with) an established clump, division is by far the fastest way to get new plants — and it’s the method most experienced gardeners actually prefer.
- In spring or fall, dig up an established clump of chives.
- Gently pull the clump apart into smaller sections, each with roots and a few shoots attached.
- Replant each division immediately, about 8–12 inches apart, at the same soil depth it was growing before.
- Water well until the new divisions are established.
Chive clumps benefit from being divided every 3–4 years anyway, so this isn’t just a propagation shortcut — it also keeps existing plants healthier and prevents overcrowding.
How to Grow Chives in a Pot
Chives are naturally well-suited to container life, since their compact, clumping roots don’t need much room to spread.
- Pot size: Choose a container at least 8 inches deep and wide — deeper is better if you plan to grow multiple clumps.
- Drainage: Make sure the pot has drainage holes; chives dislike sitting in soggy soil.
- Soil: Use a peat-free, well-draining potting mix rather than garden soil, which compacts in containers.
- Placement: Set the pot somewhere it gets at least 4–6 hours of sun a day — a patio, balcony, or bright windowsill all work.
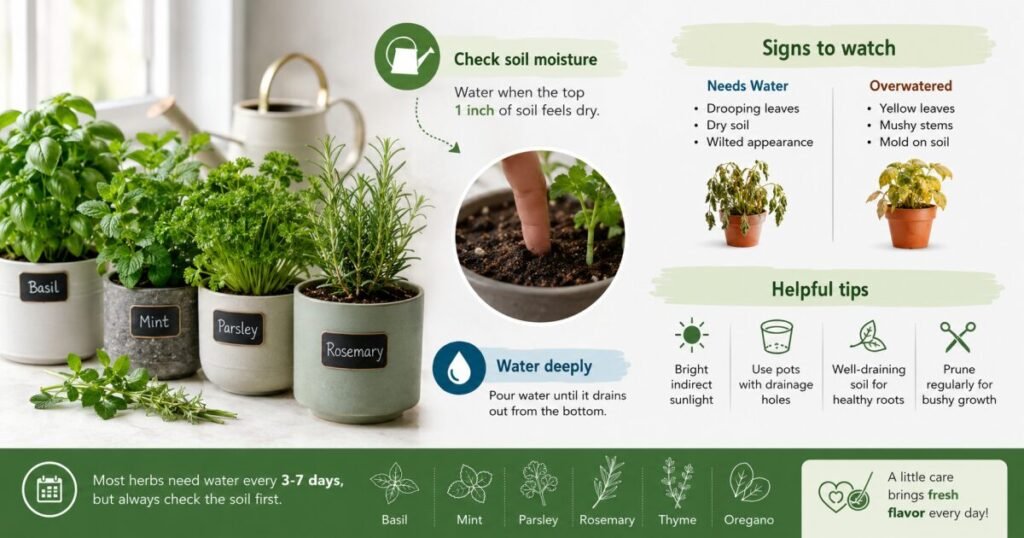
- Watering: Containers dry out faster than garden beds, so check the soil every couple of days and water whenever the top inch feels dry.
A potted clump of chives is also the easiest way to keep a steady harvest through winter — simply move the pot indoors before the first frost.
How to Grow Chives Indoors
Growing chives indoors works well year-round, as long as you can give them enough light.
- Choose a bright, south-facing window, or supplement with a grow light for 12–14 hours a day if natural light is limited.
- Plant in a container at least 8 inches deep with drainage holes, using a quality potting mix.
- Keep soil evenly moist, watering when the top inch feels dry — indoor air (especially with heating) dries soil out faster than you’d expect.
- Maintain average room temperature, ideally 60–70°F (15–21°C).
- Harvest regularly. Frequent light harvesting actually encourages fuller, bushier growth indoors.
If you already have an outdoor clump, digging up a small division in early fall and potting it up is the fastest way to get an established indoor chive plant, rather than starting from seed.
Planting and Soil Requirements
Whichever method you use to start your chives, the same fundamentals apply once they’re in the ground or in a pot:
- Light: Full sun produces the strongest flavor and most vigorous growth, though chives tolerate partial shade, especially in hot climates.
- Soil: Fertile, moisture-retentive soil that drains well. Mix in aged compost if your soil is poor or heavy clay.
- Spacing: 8–12 inches apart to give clumps room to expand without competing for nutrients.
- Watering: Keep soil consistently moist, especially during the first growing season while roots establish. Established outdoor clumps need little extra watering beyond rainfall, except in prolonged dry spells.
- Feeding: A weekly dose of water-soluble fertilizer during the growing season encourages more leaf production, though chives aren’t demanding feeders.
How Long Do Chives Take to Grow?
From seed, chives typically take 60–90 days to reach a size worth harvesting, with germination alone taking 10–21 days. From a nursery-bought plant or a division, you can begin light harvesting almost immediately and have a full, established clump within 4–6 weeks. This is one of the main reasons most home gardeners skip seed-starting altogether and plant a young chive plant instead.
How to Harvest Chives (Without Killing the Plant)
Harvesting correctly is what keeps a chive clump producing for years rather than petering out.
- Wait until leaves are at least 6 inches tall before the first harvest.
- Using scissors, snip individual leaves — or a whole handful — to about ½ inch (1 cm) above the soil line.
- Always leave some growth behind; never cut a clump down to the ground unless you’re deliberately renewing it after flowering.
- Harvest from the outer edges of the clump first, letting the center continue producing.
- Morning is the best time to harvest, when leaves are freshest.
The more you harvest, the more chives produce — regular cutting is actively good for the plant, not just for your kitchen.
Will Chives Grow Back After Cutting?
Yes. Chives regrow readily after being cut, which is exactly why they’re harvested by snipping rather than pulling. As long as you leave roughly half an inch of growth above the soil, new shoots emerge within a couple of weeks. If a clump gets leggy or the flower stalks take over, you can even cut the entire clump back to about 2 inches—it will bounce back with a fresh flush of tender leaves.
Do Chives Come Back Every Year?
Yes — chives are a true perennial (not an annual or biennial), hardy in USDA zones 3–9. In the ground, an established clump will die back in winter and regrow each spring reliably for several years, typically 3–4 years before it benefits from being dug up and divided. In containers, chives can also overwinter outdoors in most zones, though potted roots are more exposed to cold than those in the ground, so extra mulch or moving the pot somewhere sheltered helps in colder regions.
Do Chives Multiply on Their Own?
Yes, in two ways:
- Clumping growth: The bulbs at the base of a chive plant naturally divide underground each year, so a single clump gradually gets larger and denser on its own.
- Self-seeding: If flower heads are left on the plant, they’ll drop seed once mature, and new seedlings often sprout nearby the following spring.
If you don’t want chives spreading by seed, simply snip off the flower heads once they fade, before they have a chance to set and drop seed.
What Should You Not Plant Next to Chives?
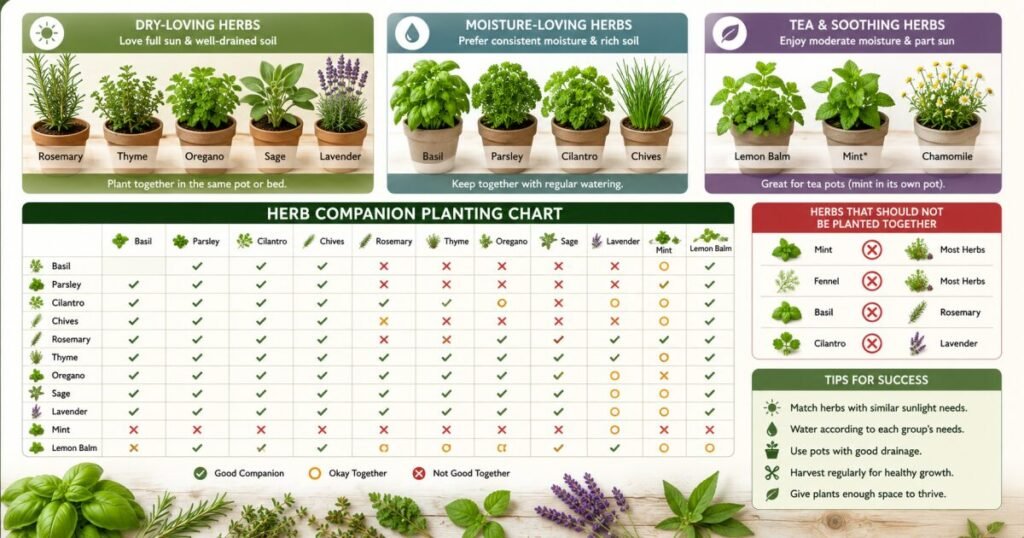
Avoid planting chives close to beans, peas, and asparagus. Like other alliums, chives release compounds that can suppress legume growth, and asparagus doesn’t compete well with alliums for nutrients either. On the flip side, chives make an excellent companion for carrots, tomatoes, brassicas (cabbage, broccoli), strawberries, and roses — their oniony scent helps deter aphids and other soft-bodied pests.
Common Chive Growing Problems
Chives are famously low-maintenance, but a few issues do crop up:
- Aphids: The most common pest. Spray with insecticidal soap or neem oil, making sure it reaches down into the base of the clump where aphids cluster.
- Leek rust: A fungal disease causing orange raised spots on leaves. Improve air circulation and remove affected foliage.
- Yellowing or sparse leaves: Usually a sign of overcrowding — divide the clump — or occasionally overwatering in poorly draining soil.
FAQ: Growing Chives
How do you grow chives from seed indoors?
Sow seeds ¼–½ inch deep in a seed-starting mix, keep the soil consistently moist, and place the tray somewhere warm and bright. Germination takes 10–21 days. Once seedlings reach about 4 inches tall, transplant them into individual pots at least 8 inches deep.
Can you grow chives indoors?
Yes. Chives grow well indoors year-round in a bright, south-facing window or under a grow light, as long as the soil is kept evenly moist and the container has good drainage. They’re one of the easiest herbs for a windowsill setup.
Are chives easy to grow?
Very. Chives tolerate a range of soil conditions, need minimal feeding, come back year after year without replanting, and regrow quickly after each harvest — making them one of the lowest-maintenance herbs for beginners, in the ground or in containers.
Not sure if what’s in your garden is chives or green onions? Read our guide on are chives and green onions the same to clear up the confusion before you plant.